


OwnCloud
Being fed up with Dropbox and their constant nagging to sign up for their business plans, I recently investigated OwnCloud. OwnCloud is essentially a open-source clone of Dropbox, that you can install on your own server. It has many, many more features, but I’m going to leave it at that.
After I installed OwnCloud on my linux server (which really easy to do) I started talking about it on a couple of podcasts and with a few friends. One question I got was “Can I run it on a Mac?”. “Sure” I thought, not seeing anything that would prevent it from running on macOS. Turns out, it’s not officially supported and OwnCloud doesn’t offer a package for it.
There’s a solution for this, though. Docker, a container-based virtualization solution, to the rescue. You’re basically running a mini-linux within a small virtual machine. Exactly what we need.
So here we go: Setting up OwnCloud from scratch on macOS in 4 short steps.
Step 1: Download & Install Docker
If you haven’t done so already, download and install docker: https://docs.docker.com/docker-for-mac/
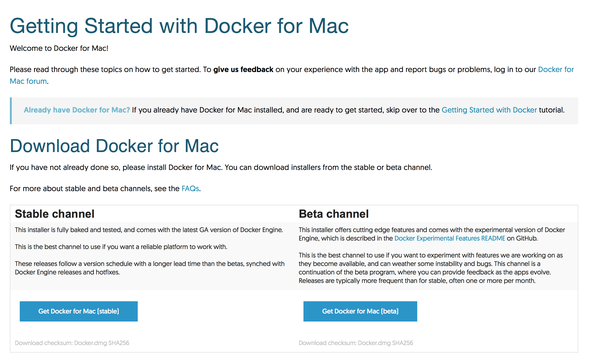
Download docker for Mac
Just follow the instructions on that page. You can stop after you’ve completed “Step 1”. We’ll pick things up from there.
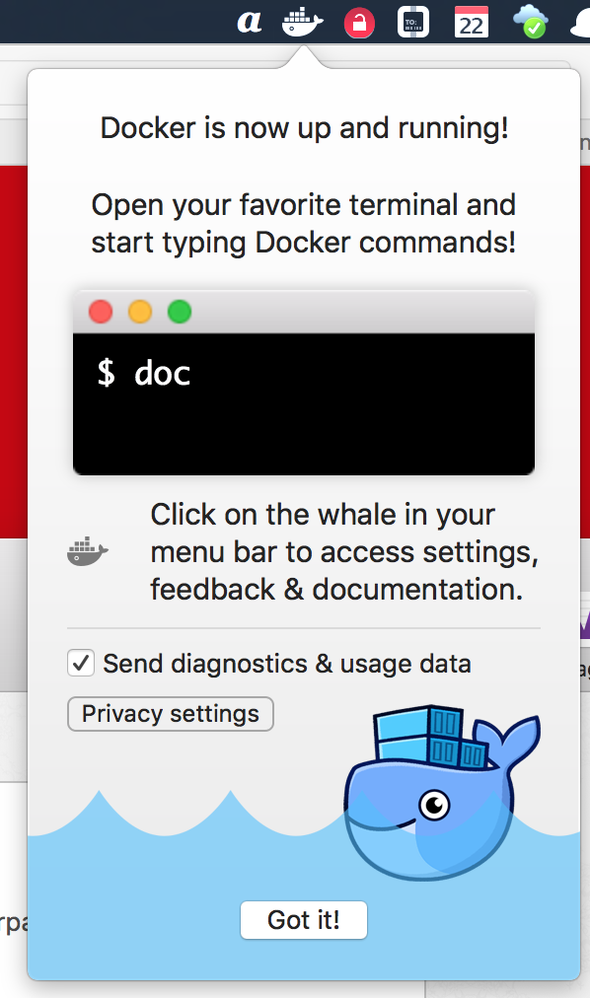
docker is running
Step 2: Create a docker compose file
Docker compose allows you to automate a more complex docker setup. In our case, we need two docker images (essentially two small machines): One for OwnCloud itself, one for the database server (MariaDB).
To create the file, first open the Terminal, then type in the following commands:
cd
mkdir owncloud_docker
cd owncloud_docker/
touch docker-compose.yml
open docker-compose.yml
The last command should open the file docker-compose.yml in your favorite text editor (e.g. SublimeText).
Put in the following content (or download the file here:
# ownCloud with MariaDB/MySQL
#
version: '2'

services:
  #OwnCloud machine
  owncloud:
    image: owncloud
    ports:
      - 8080:80 # CHange port from 8080 to any other port if you like. This is the port you will reach your server at.
    volumes:
     - ~/.owncloud_docker:/var/www/html # This makes sure your owncloud data is stored on your Mac. You can change the folder by replacing ~/.owncloud_docker with any other folder

  # Database server
  mysql:
    image: mariadb
    volumes:
     - ~/.mariadb_docker:/var/lib/mysql # This makes sure your database dat ais stored on your Mac. You can change the folder by replacing ~/.mariadb_docker with any other folder
    environment:
      MYSQL_ROOT_PASSWORD: example # PLEASE CHANGE THIS
Please make sure you change at least the MYSQL_ROOT_PASSWORD. If there’s already a server running on port 8080, please switch the port, too. You can leave the rest as is if you like.
Save the file and you’re good to continue.
Step 3: Start Owncloud
Next, we’re going to actually start the server(s).
Head back to the terminal window and type the following:
$ docker-compose up -d
This will download the required images (make sure you’re connected to the internet) and start the server.
If everything worked as expected, you should be able to access your OwnCloud instance at http://localhost:8080. Time to set it up!
Step 4: Setting up OwnCloud
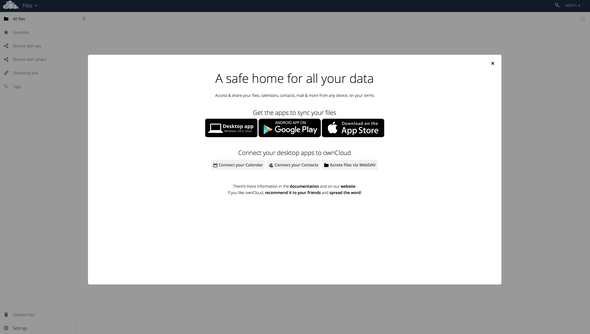
If everything went according to the plan, you should see the setup screen below.
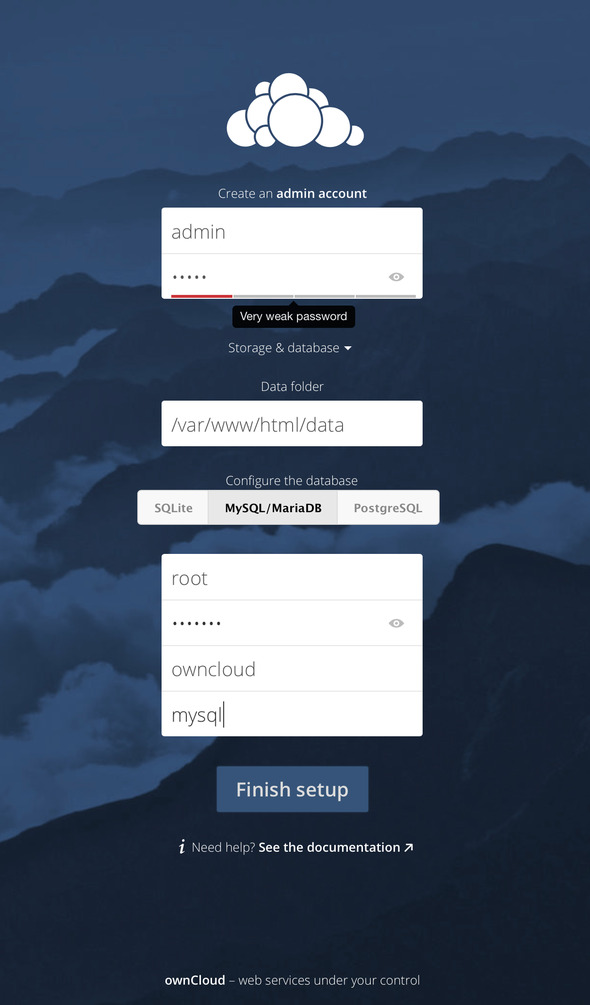
Setting up OwnCloud
You can choose your own admin username and password. Afterwards click on Storage & Database, select MySQL/MariaDB and enter the following settings:
- Database user:
root - Database password: the
MYSQL_ROOT_PASSWORDfrom step 2 - Database name:
owncloud - Database host:
mysql
Click finish. And wait until the server is set up (might take a while…).
DONE
That’s it. Your very ownOwnCloud instance is up and running. All you need to do now is make sure you can access it from the internet (e.g. by using dyndns and a port forward) and install the OwnCloud client apps on your devices.